
HOW TO PLANT YOUR PATINA MEADOW TRANSPLANTS
- Mar 13, 2024
- 3 min read
Updated: Apr 28, 2025
Hi! I'm Leila! I grew the plants that you have chosen to add to your home garden :)

First off, I would like to thank you for trusting me to grow plants for you and your family. I grew these in the greenhouses at our farm at Patina Meadow, using only organic compost-based potting soil, worm castings, along with rabbit manure from Gardener Grove as fertilizer (which is available in our garden section!) That means that these little guys have never been touched with chemical fertilizers, herbicides, or pesticides, fungicides!

Now that these seedlings are in your care, I thought I would share some tips on how best to plant them in your garden so you can have a successful harvest.
STEP 1: PREP YOUR BEDS

Before you start transplanting, ensure your garden bed is prepped and ready to go. Clear away any debris, weeds, or rocks that might hinder growth. Loosen the soil with a garden fork to ensure good drainage and mix in approximately 2" of compost if this is your first time amending your bed for the season to give your plants a nutritious boost. You can also add an organic fertilizer to add additional nutrients.
STEP 2: TIMING YOUR PLANTING

Timing is key when it comes to transplanting. Check the weather forecast and aim for a mild, overcast day to minimize stress on your plants. Early morning or evening are also ideal times to transplant, as the sun won't be as intense.
STEP 3: HANDLE WITH CARE

Handle your plants with care to avoid damaging their delicate roots and leaves before planting them in the ground. Since our seedlings are in biodegradable pots, you don’t need to worry about stressing your plant by removing it from its pot if you don't want to! You can just tear off the bottom and plant.
STEP 4: DIG IN AND PLANT
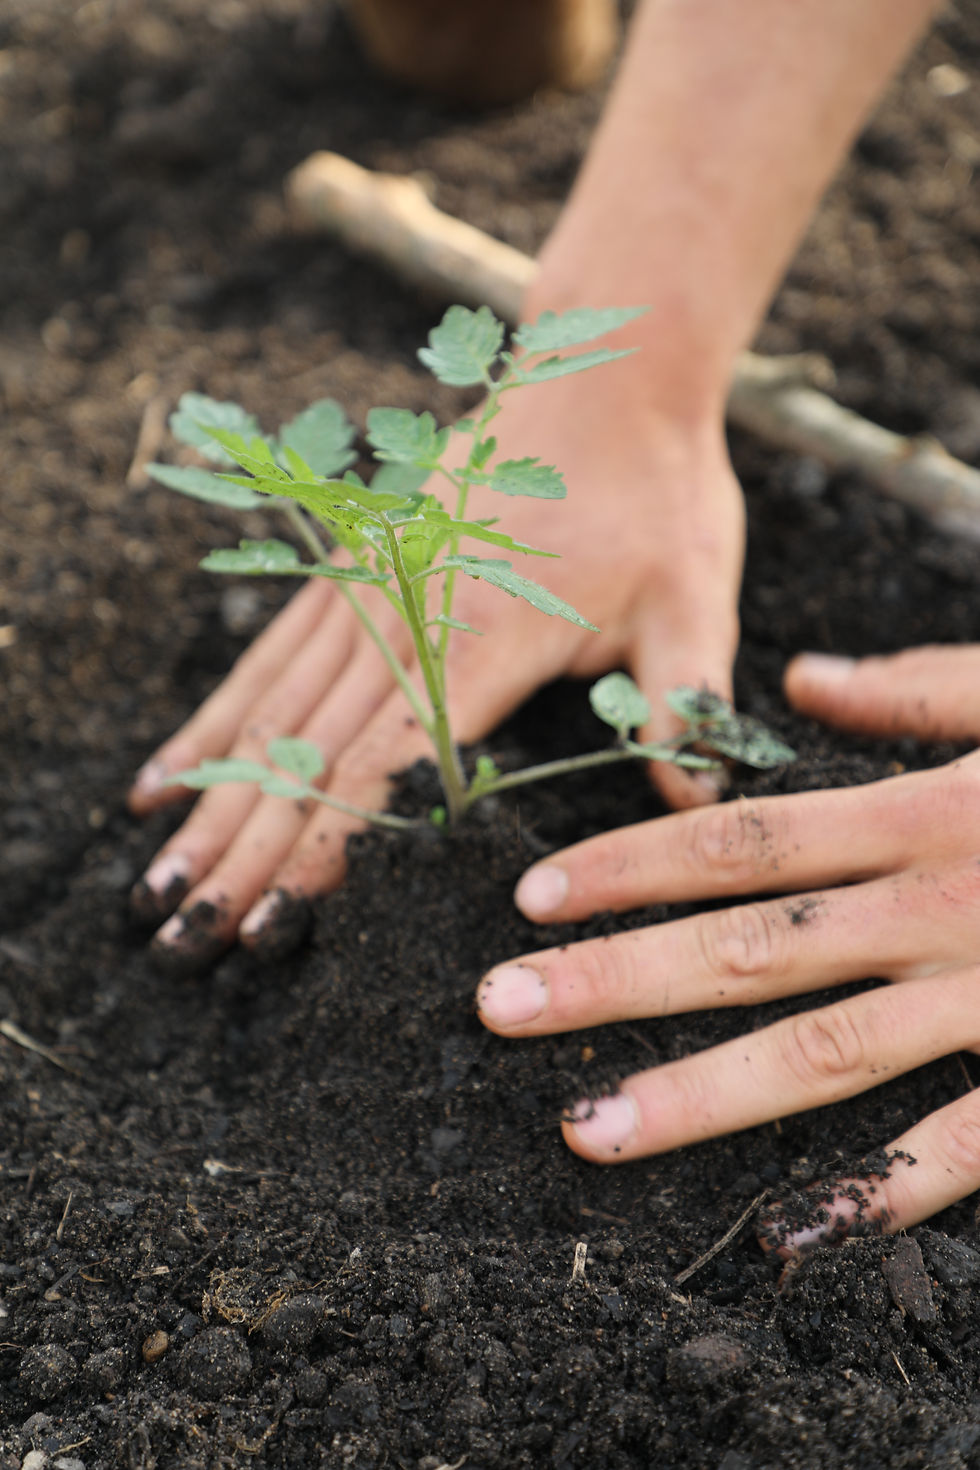
Dig a hole in your prepared garden bed that's slightly larger than the pot. Place the plant in the hole, making sure it sits at the same depth as it sits in the pot. Backfill the hole with soil and press firmly to secure them in place.
If you are planting tomatoes, bury them as deep as you can, leaving only 3-4 sets of leaves at the top. Tomatoes grow roots up their stem if they are deeply planted, which will aid in them receiving nutrients and water as they grow!
STEP 5: WATER

After transplanting, give your plants a good drink of water to help them settle into their new home.
STEP 6: TLC

Now that your plants are in the ground, it's time to give them some tender loving care. I recommend watering them every day for a couple of days to help them establish their roots, but then, depending on your soil and the rainfall, you can decrease your watering to a couple of times a week to encourage healthy root growth. Keep an eye on them in the coming days and weeks, monitoring for any signs of stress or disease. With a little patience and attention, your transplanted seedlings will soon be thriving in their new environment.
If we get a frost, I would recommend covering them with a sheet or frost blanket to protect them.
If you have any questions about caring for your transplants, leave them in the comments and I will be sure to give you any tips I can offer!
Happy growing!
Love,
Leila


Hi Leila, Thank you so much for encouraging me to realize it's time to come out of hibernation and helping those of us who think we can't start seeds!
Let's plant!
Susie